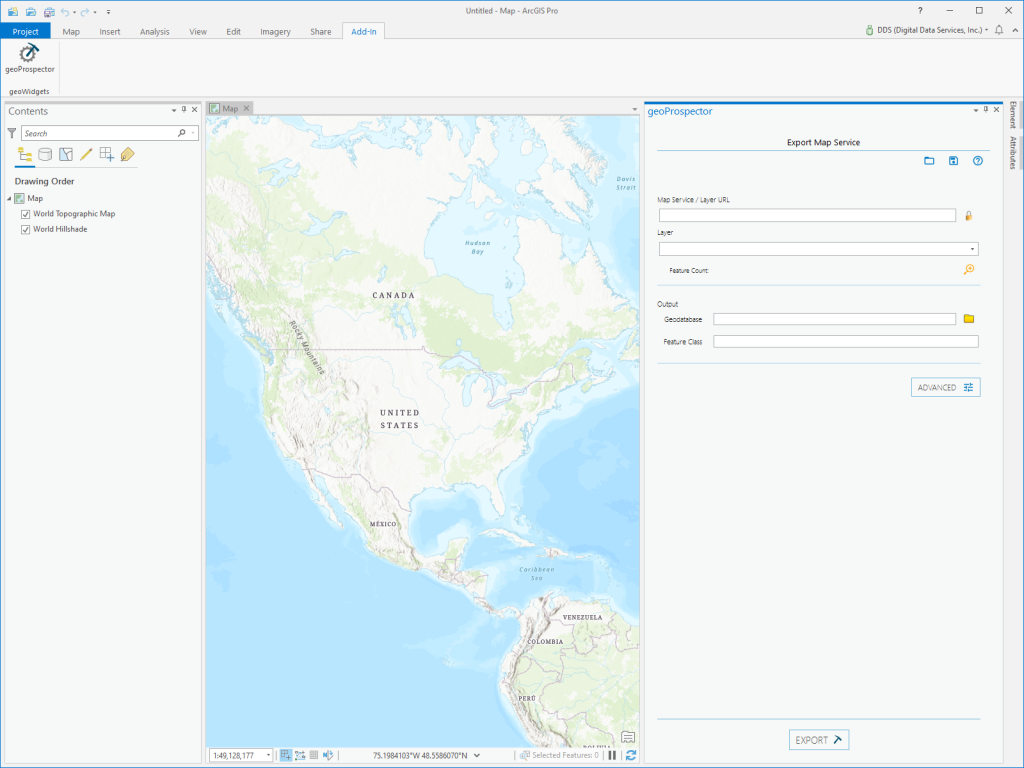
geoProspector is simple to use. The following tutorial will introduce you to the majority of features in geoProspector. For more detailed information, see the About geoPropsector section of the documentation. Let’s get started!
1. Start ArcGIS Pro from your Start menu.
2. For this tutorial, select Start without a template.
6. For this tutorial, we are going to get the Fire History for the U.S. Forest Service in the Denver Front Range. The U.S. Geological Survey has a Fire History Map Service but doesn’t publish a Feature Service. This means we cannot download this data in ArcGIS Pro and can only view it. But we want to do more with it. geoProspector is here to help!
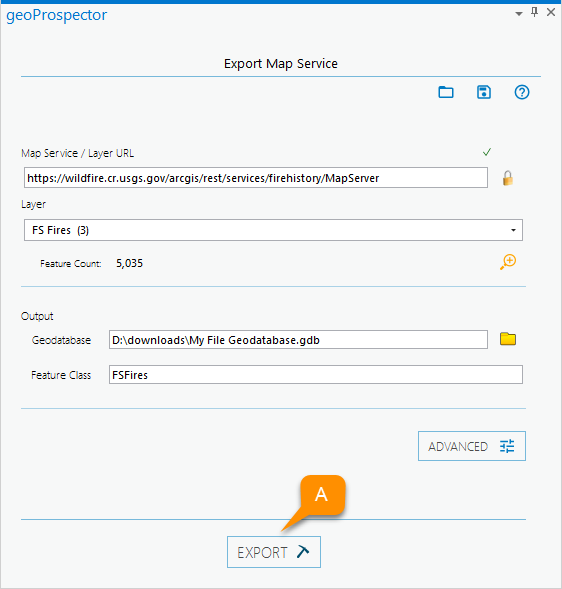
Let’s copy and paste in the Fire History Map Service URL into the Map Service / Layer URL (A) in the geoProspector pane.
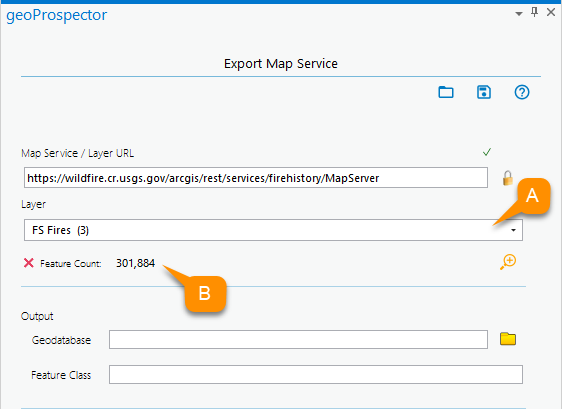
https://wildfire.cr.usgs.gov/arcgis/rest/services/firehistory/MapServer
7. geoProspector will default to the first Layer in a Map Service, which in this case is the BIA Fire History. We are no interested in this layer, so click on the Layer Selector (A) and select the FS Fires (3) layer, which is the U.S. Forest Service Fire History.
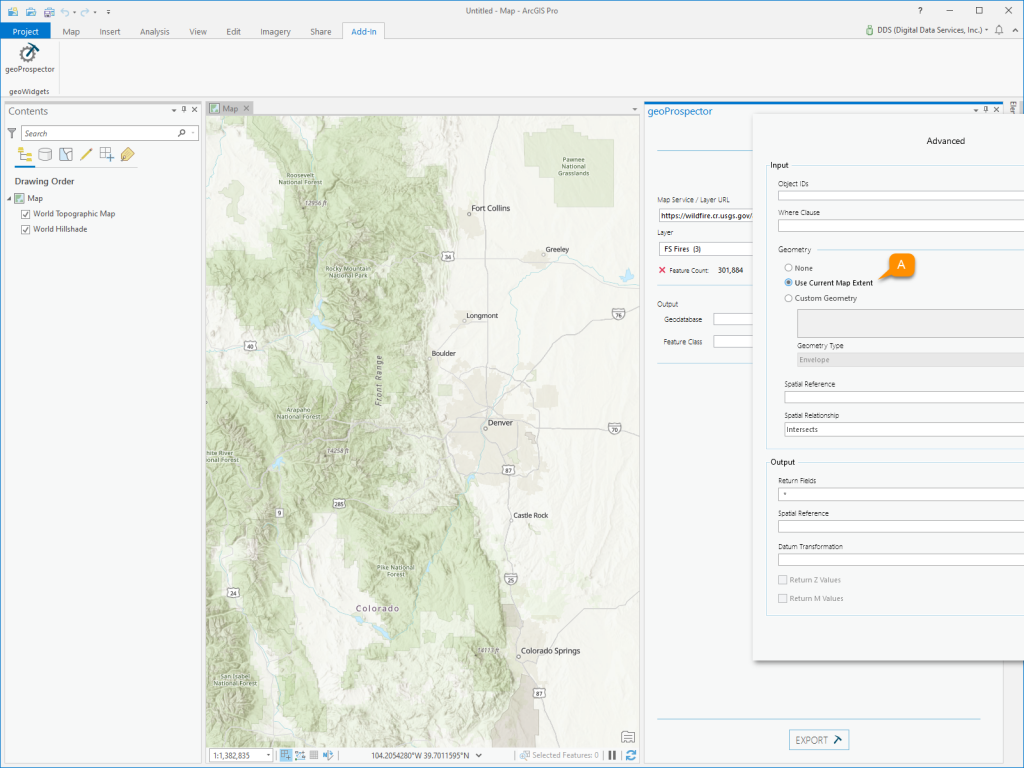
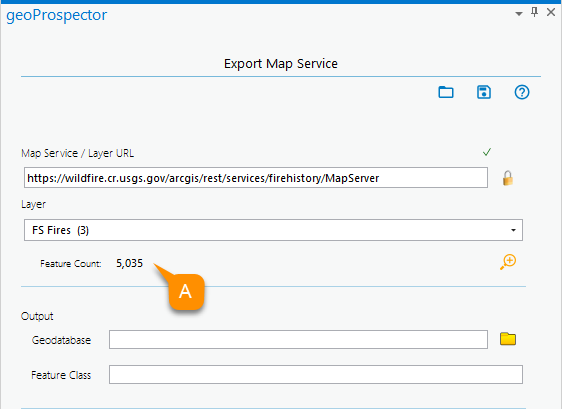
If you notice the Feature Count (B), it returned ~301,000 features. That’s a lot of data. We are going to filter it to something more manageable. There are lots of options using the Advanced Settings. The simplest is to use the ArcGIS Pro map extent as a spatial filter.
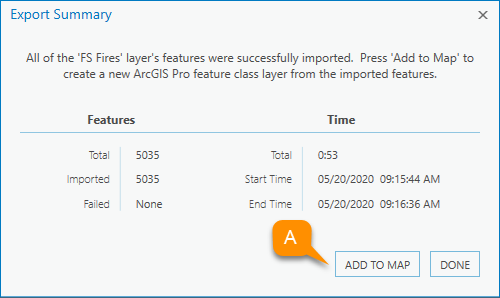
14. When the feature download completes, an Export Summary dialog provides a summary of the features downloaded. Click the Add to Map (A) button to add your downloaded features directly to your ArcGIS Pro map.
15. Your map should be similar to the example below with all the point locations of forest fires on U.S. Forest Service lands in the Denver Front Range. You now have access to manipulate the data; however, you wish. Have fun!


