1. Home
  2. Docs
  3. geoSherpa Documentation
  4. Getting Started with geoS...
  5. Installing geoSherpa Planner

Installing geoSherpa Planner

geoSherpa is licensed to organizations. You may install multiple instances of geoSherpa Planner within your organization. Please be aware that all geoSherpa Guides are available and editable to all users within your organization. 

Installation Note

geoSherpa Planner is only supported on a local computer installs. geoSherpa may run on remote computers; however, performance over RDP will significantly be impacted and is not supported.

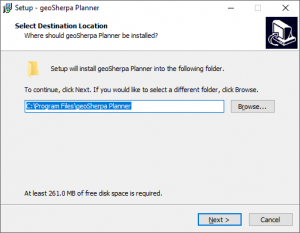
geoSherpa Planner Installation Procedures

Step 1 - Select Destination Folder

If necessary, you can change the default destination location of where geoSherpa Planner is installed. Click the Browse… button to set a custom install destination or use the Default Installation Path.

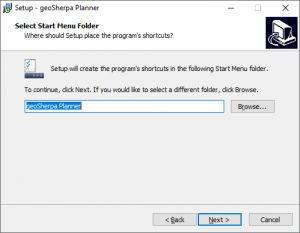
Step 2 - Select Start Menu Folder

Optionally, you can change the name of the Start Menu folder.

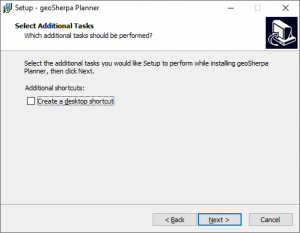
Step 3 - Select Additional Tasks

If you wish to create a desktop shortcut, please click the box next to “Create a desktop shortcut”.

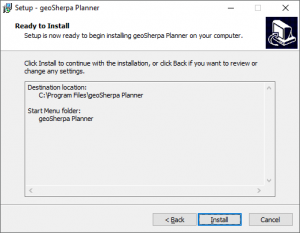
Step 4 - Ready to Install

This dialog confirms the installation path before install.

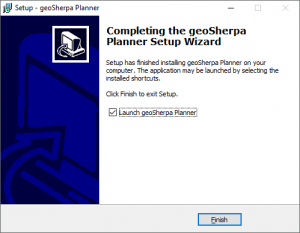
Step 5 - Complete Install

Upon completion, the installer will launch geoSherpa Planner. If you do not want this to happen, uncheck the box next to “Launch geoSherpa Planner”.